


Using block-based code that is simple to read and remix for users of all skill levels, Tinkercad Codeblocks lets users modify the familiar Shapes found in the 3D workspace of Tinkercad. Codeblocks is a straightforward method for making repeatable examples and complex plans utilizing factors and boundaries.
The Tinkercad Codeblocks workspace is an entertaining and engaging way to learn the fundamentals of coding! After dragging and stacking Codeblocks, press Play to watch Tinkercad create a unique 3D design from your code.
Using block-based code that is simple to read and remix for users of all skill levels, Tinkercad Codeblocks lets users modify the recognizable Shapes found in the 3D workspace of Tinkercad. Codeblocks is an easy way to use variables and parameters to make complex designs and repeatable patterns. also a little math!)
The best part is that Tinkercad Codeblocks makes it easy to see how even minor changes to code can have a big impact. When interacting with a 3D design using block code, users have more control and precision over their modifications. While learning how to make code work for you, you’ll be able to perfect your Codeblocks design through iteration!
Table of Contents
- Exploring Codeblocks
- Activities
- Starter Designs
- Starting a New Design
- Sections
- Tool Bar
- General Tips
- Teaching Codeblocks with Tinkercad
- Support and FAQ
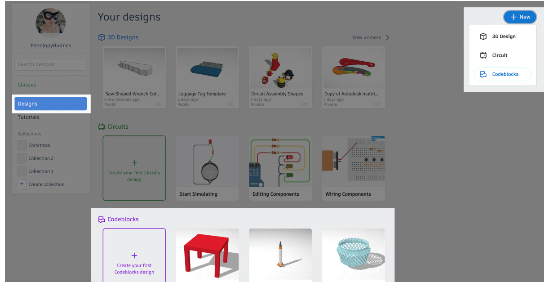
1. Exploring Codeblocks
A dashboard showing your most recent work will appear after you sign in to Tinkercad. Rows for your 3D Designs, Circuits, and Codeblocks will appear on this page. You can either click + New in the top right or Create a New Codeblocks Design in the appropriate lane.
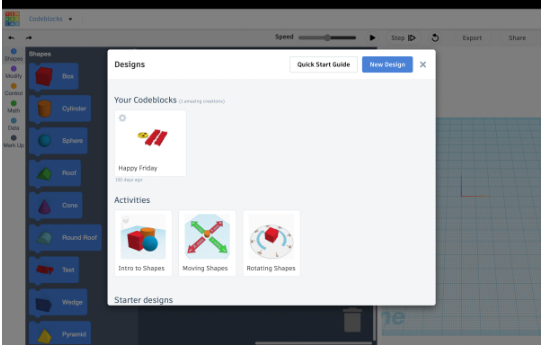
2. Activities
Clicking on one of the Activities will walk you through how to create a Codeblocks design.
It will start with the basics on shapes and move on to more advanced options.
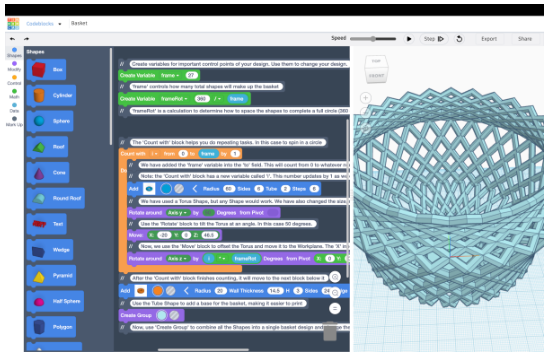
3. Starter Designs
Click on one of the Starter Designs to see a breakdown of how a design looks as Codeblocks. Above, you can see an illustration of what you will see if you select the Basket Starter Design.
4. Starting a New Design
Click “New Design,” the “X,” or simply click outside the box to get started if you decide to start from scratch.
5. Sections
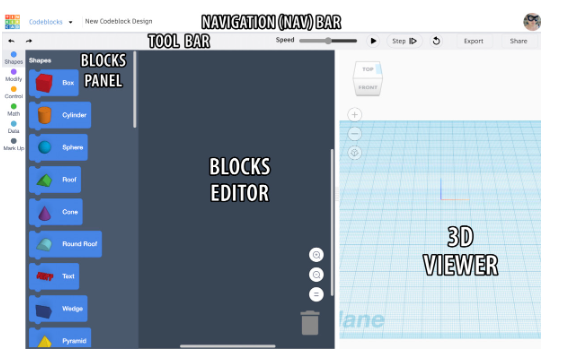
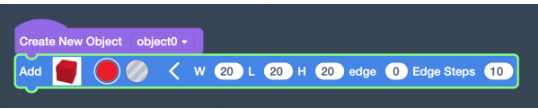
Shapes:
Different shapes to use from the Essential Shapes part of the 3D Plan Shapes Board.
enables you to change the color and turn it into a “hole.”
For some, you can set the shape’s width, length, and height by clicking the arrow.
Modify:
allows you to change the shape by selecting it, moving it, turning it, and more.
Control:
Add logic that controls the flow of the code by adding loops or pauses
Math:
Create variables that can then be applied to other blocks, and control those variables through various math functions.
Data:
Contains all of the variables created throughout the code that can be dragged into a blocks data fields.
Markup:
With this you can leave comments about what you are doing in your Codeblocks design.
You can begin designing with Codeblocks by dragging and clicking the various shapes, modifiers, and other elements into the Blocks Editor. There is a lot of room to work with, but only in the scroll area.